
I have watched players with a 19oz playing cue and a beautiful stroke walk up to the head ball and produce a break so soft the rack barely moved. Then I watched a guy with mediocre fundamentals pick up a 25oz break cue, square his hips, and scatter balls to every pocket. The difference was not talent. It was mechanics and equipment working together. If your break is losing you racks, something in that chain is broken, and this guide walks through every link.
A powerful, controlled break is the product of seven mechanical inputs: stance, grip, foot position, bridge distance, head ball contact point, weight transfer, and follow-through. Get all seven right and you will feel the difference the first time you drop into that stance. Equipment matters too, but technique comes first. No cue fixes a collapsing stroke. Get the stroke right, then let the equipment amplify it.
If your playing cue is absorbing the impact your rack deserves, this is the fix.
The RAGE Heavy Hitter is a dedicated 3-piece jump break cue with a phenolic tip built to convert stroke speed into ball speed without mushrooming or compressing. Over 1,300 league players rate it 4.6 out of 5. Worth checking before your next league night.
Amazon Check Today's Price on Amazon →Step 1: Set Your Stance Before You Even Think About Swinging
Stand roughly a foot behind where you plan to set your bridge, feet about shoulder-width apart, dominant foot slightly back. Your body should be angled at roughly 45 degrees to the shot line, not squared up like you are about to punch someone. The break is not a push. It is a pendulum swing that your body channels into the cue.
Keep your knees soft. A locked knee stance transfers vibration upward and kills consistency. Bend just slightly, like you are about to sit on a bar stool that is four inches too high. This position lets your hips rotate through the shot instead of blocking the power transfer. I drill this with players who are breaking flat-footed and they almost always find 10 to 15 percent more speed without changing anything else.
Your chin should be low and directly over the cue line. Not to the side, not raised up watching the rack. Chin over the cue. This keeps your alignment honest and prevents the shoulder dip that sends head ball contact high or off-center.
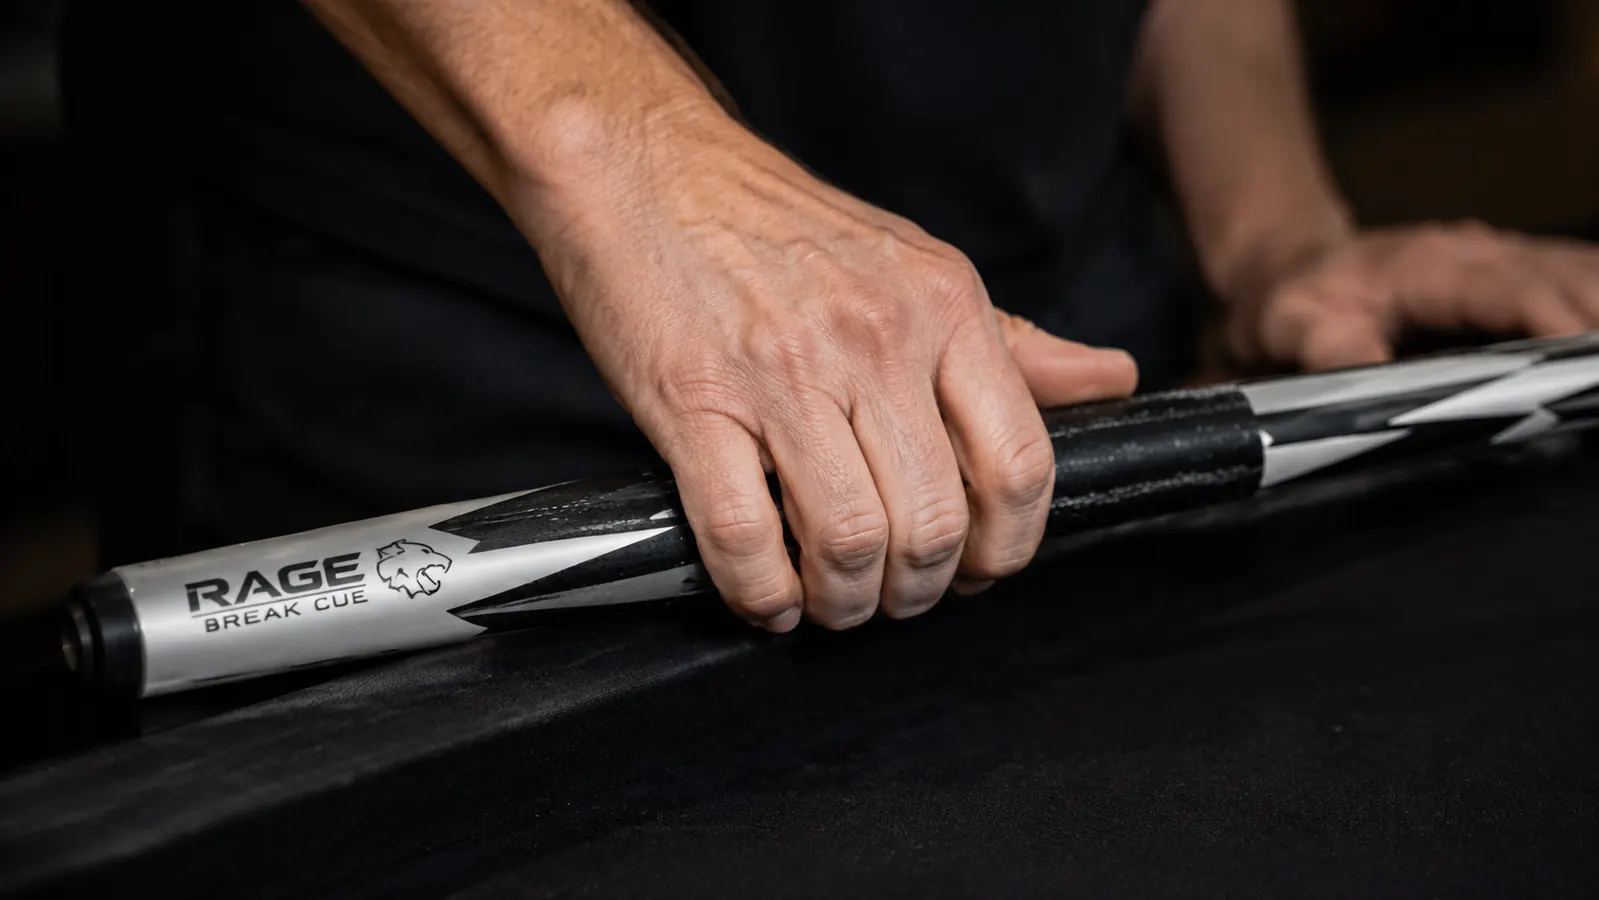
Step 2: Grip the Cue Like You Are Holding a Bird, Not a Bat
This is the single most common mistake I see in recreational league play. Players death-grip their break cue thinking tension equals power. It does not. Tension freezes the wrist, and the wrist is where half your break speed comes from. Your grip hand should be relaxed at address. As you accelerate through the ball, the grip naturally firms up. That is the physics working. You do not need to force it.
Hold the wrap with your thumb and the first two fingers forming a loose triangle. Your pinky and ring finger add just a touch of stability. You should be able to wiggle your wrist freely when you are stopped at address. If you cannot, you are holding too tight. The snap at contact comes from a relaxed wrist accelerating through, not a rigid arm pushing.
Step 3: Plant Your Feet and Load Your Weight on the Back Foot
Foot position and weight transfer are two halves of the same motion. Before you start your stroke, load about 60 percent of your weight onto your back foot, which is your non-dominant foot if you are a right-handed player. This is your coil position. The weight shift forward through contact is where the "punch" of a good break originates.
Your front foot points roughly toward the target line. Your back foot can angle out 30 to 45 degrees for stability. When you begin your forward stroke, let your weight roll forward from back heel to front toe. Do not consciously lunge. The weight shift should feel like a natural consequence of your arm swing, not a separate move you bolt on. Players who lunge often miscue because the whole body shifts before the cue does.
A good way to test this: after you break, where is most of your weight? If it is still on your back foot, you held back. If you stumbled forward, you lunged. The target is a balanced landing with weight mostly on the front foot and your hips square to the shot line at contact.
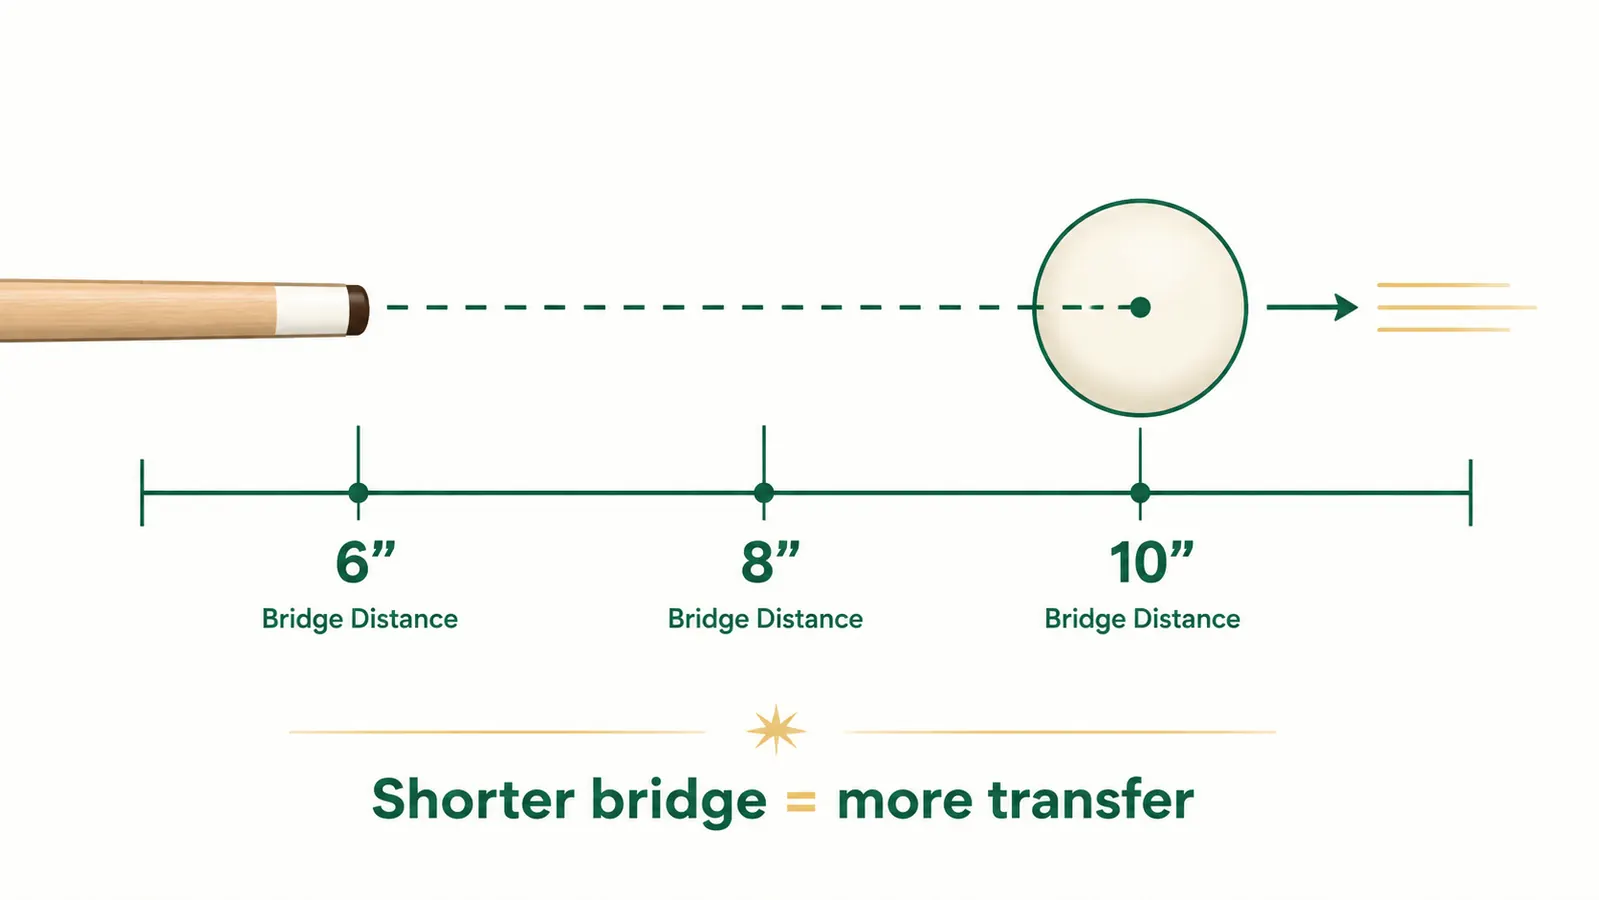
Step 4: Set Your Bridge Distance at 8 Inches From the Cue Ball
Bridge distance is one of the most underrated variables in break power. Too long a bridge and your cue wobbles at speed. Too short and you never reach full velocity before contact. Eight inches is the sweet spot for most players, measured from your bridging fingers to the cue ball.
Use a closed bridge for the break shot. The open bridge is fine for precise spin shots where feel matters more than power, but on the break you want the cue locked in a channel so it tracks true at high speed. Make a circle with your thumb and index finger, curl the other three fingers into the felt firmly, and run the cue through the ring. Adjust until the cue slides smoothly with no wobble and no excessive friction.
Step 5: Hit the Head Ball as Close to Center as Possible
Where you contact the head ball determines whether your power goes into the rack or off to the side. Dead center on the head ball sends energy straight through the rack. Off-center contact redirects that energy and you get a glancing spread instead of a true explosion. For most racked games, you want the cue ball to contact the head ball at its exact center, give or take a millimeter.
Keep cue ball contact as close to center-center as possible too. Draw and follow spin both work on the break if you have a specific position goal, but for pure power, center ball hit with a slight downward angle drives the cue ball through the rack rather than deflecting off it. The downward angle pins the cue ball into the table on contact, reducing the chance of a scratch off the break.
Dry run your stroke before you break. Take two or three slow practice swings while looking at the head ball and confirm your cue tip tracks to exactly where you intend. Then break with confidence. Players who look at the cue ball at address and then look at the rack as they swing tend to miss contact point because the swing path drifts with the eye movement.
Step 6: Drive Through the Ball, Not To It
Follow-through is where most recreational players leave speed on the table. They decelerate just before contact, which compresses the stroke and kills velocity at the worst possible moment. The goal is to still be accelerating when you contact the head ball, which means your maximum speed should be happening just past the cue ball position, not before it.
Think of your cue tip as having to reach the back of the rack, not just the cue ball. Commit to a full follow-through where your cue hand ends up near your shoulder and your arm is fully extended. If your stroke stops six inches past the cue ball, you are short-arming the break. The full follow-through is not a cosmetic addition, it is what physically generates acceleration through contact.
Your maximum cue speed should happen just past where the cue ball sat, not before contact. If you are decelerating into the ball, you are leaving a third of your break power on the table.

Step 7: Use the Right Equipment to Amplify Everything Above
Once your mechanics are solid, equipment becomes a genuine multiplier. Breaking with your playing cue is the most common equipment mistake in recreational league play. Your playing cue is typically 18 to 21 ounces with a layered leather tip designed to absorb impact and transmit spin. That absorption is exactly what you want for position play and exactly what you do not want on the break.
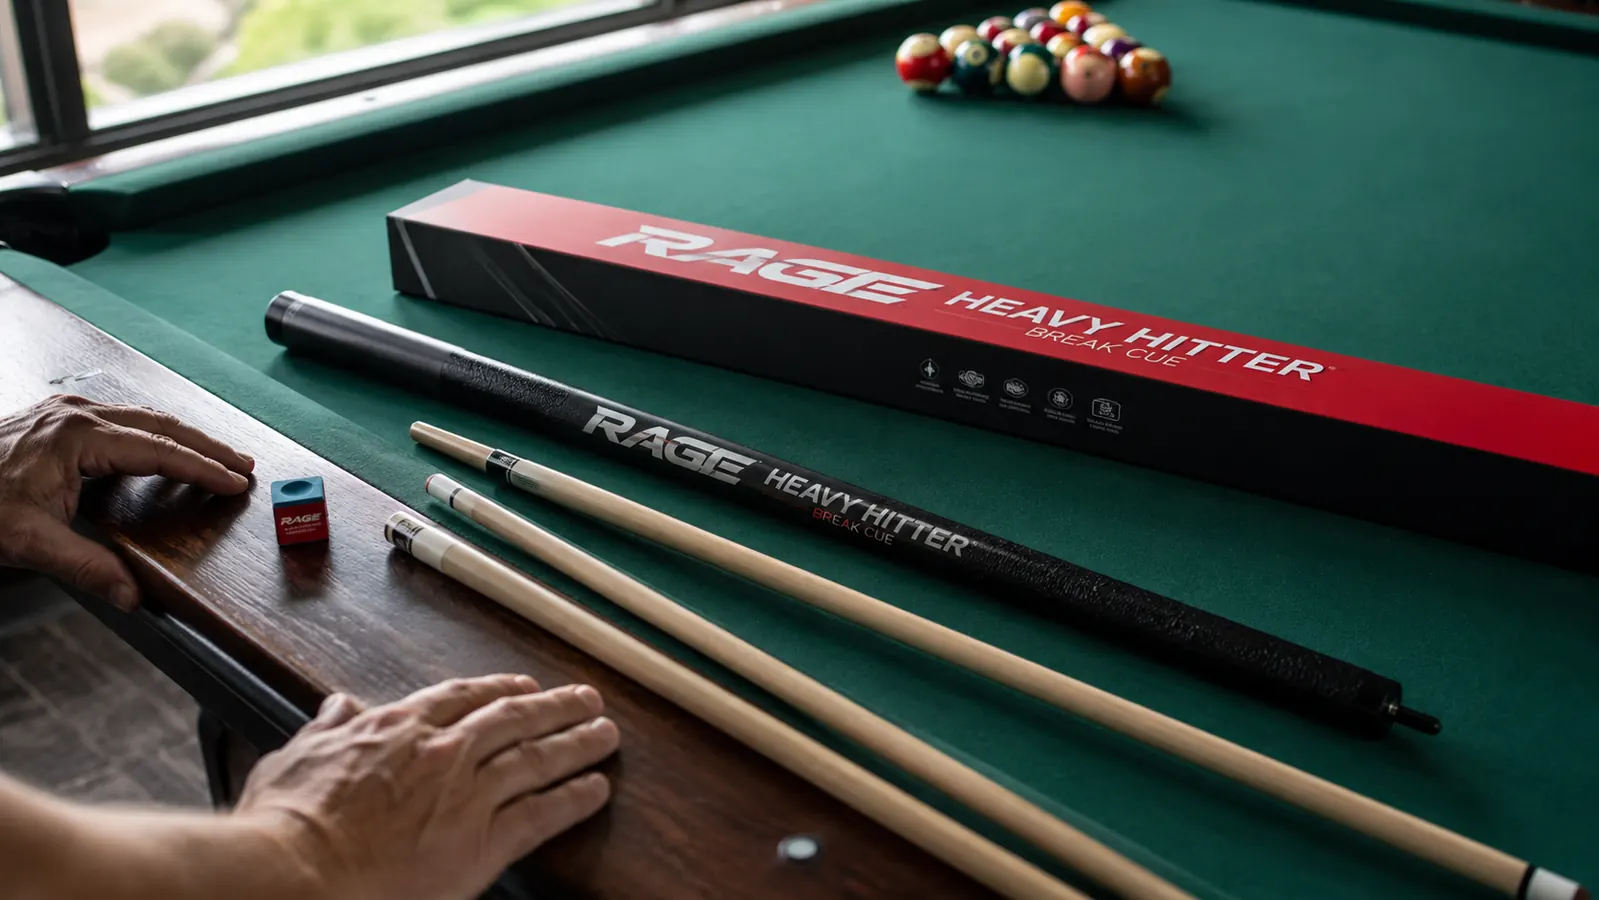
A dedicated break cue has a phenolic tip, which is hard resin that does not compress on impact. It transfers virtually all your stroke energy into the cue ball instead of absorbing a fraction of it into the tip. The RAGE Heavy Hitter runs 25 to 27 ounces depending on configuration, which adds mass to the equation alongside tip hardness. Mass times velocity equals momentum, and momentum is what scatters a tight rack.
The RAGE Heavy Hitter also comes in a 3-piece configuration, which matters for league players who carry a cue case to every session. You break it down and the whole thing fits in the pocket of most hard cases or in a tube bag alongside your playing cue. I have used it for two full APA seasons and the phenolic tip still looks new because phenolic does not mushroom the way leather does under repeated break impact. The joint is solid, the balance is rear-weighted by design, and that rear weight actually helps with the pendulum stroke I described in Step 1.
One thing to know before you buy: the RAGE Heavy Hitter sounds different from a playing cue on contact. It produces a sharper, louder crack. That is the phenolic tip transferring energy instead of dampening it. Some players find it jarring at first. After about ten breaks you stop noticing and start noticing your pocket count going up.
What Else Helps When You Are Chasing a Better Break
Rack quality matters more than most players admit. A loose or crooked rack absorbs energy inconsistently and produces a messy spread no matter how good your technique is. If you have control over racking at your league venue, take an extra ten seconds to make it tight. Push the balls into the triangle firmly, lift the rack straight up without dragging it, and confirm the head ball sits on the foot spot. A tight, correctly spotted rack responds to a good break the way it should.
Table conditions also affect break power translation. A freshly brushed, lightly oiled cloth lets the cue ball run true. A worn, slow cloth kills velocity. If you are playing on slow cloth, compensate by adding more follow-through length, not by gripping harder. Grip tension is always a trap.
Finally, chalk your break cue tip before every single break shot, not every other one. A miscue on the break is not just a lost shot, it can send the cue ball off the table and hand your opponent ball in hand. Predator chalk or similar premium formulations adhere better to phenolic tips than mass-market chalk does. It is a small thing, but it eliminates one variable you do not need when you are trying to throw everything into the break.
Seven steps only work as well as the cue behind them.
The RAGE Heavy Hitter Jump Break Cue pairs a phenolic tip with break-specific mass, so the mechanics you just built have something to work with. 4.6 stars from 1,331 buyers, 3-piece travel-friendly design, and a price point that makes it one of the best-value dedicated break sticks on the market. Check availability before your next league night.
Amazon Check Today's Price on Amazon →