I have watched more league nights get blamed on bad luck than I care to count. The 9-ball rattles out. The draw shot dies six inches short. The cut at 45 degrees misses the pocket by a full ball width. Sometimes that is your stroke. Sometimes it is the table. But every once in a while, the honest answer is that your cue is the problem, and nobody wants to say it out loud.
Figuring out which one it is requires actual tests, not just a gut feeling after a bad night. I have been playing APA league for nine years and I have shot with everything from a $35 house stick to a $400 Predator. What I have learned is that there are six specific things to check before you write a check. If your cue fails two or more of them, a new stick will almost certainly help. If it passes all six, put the money toward practice time instead.
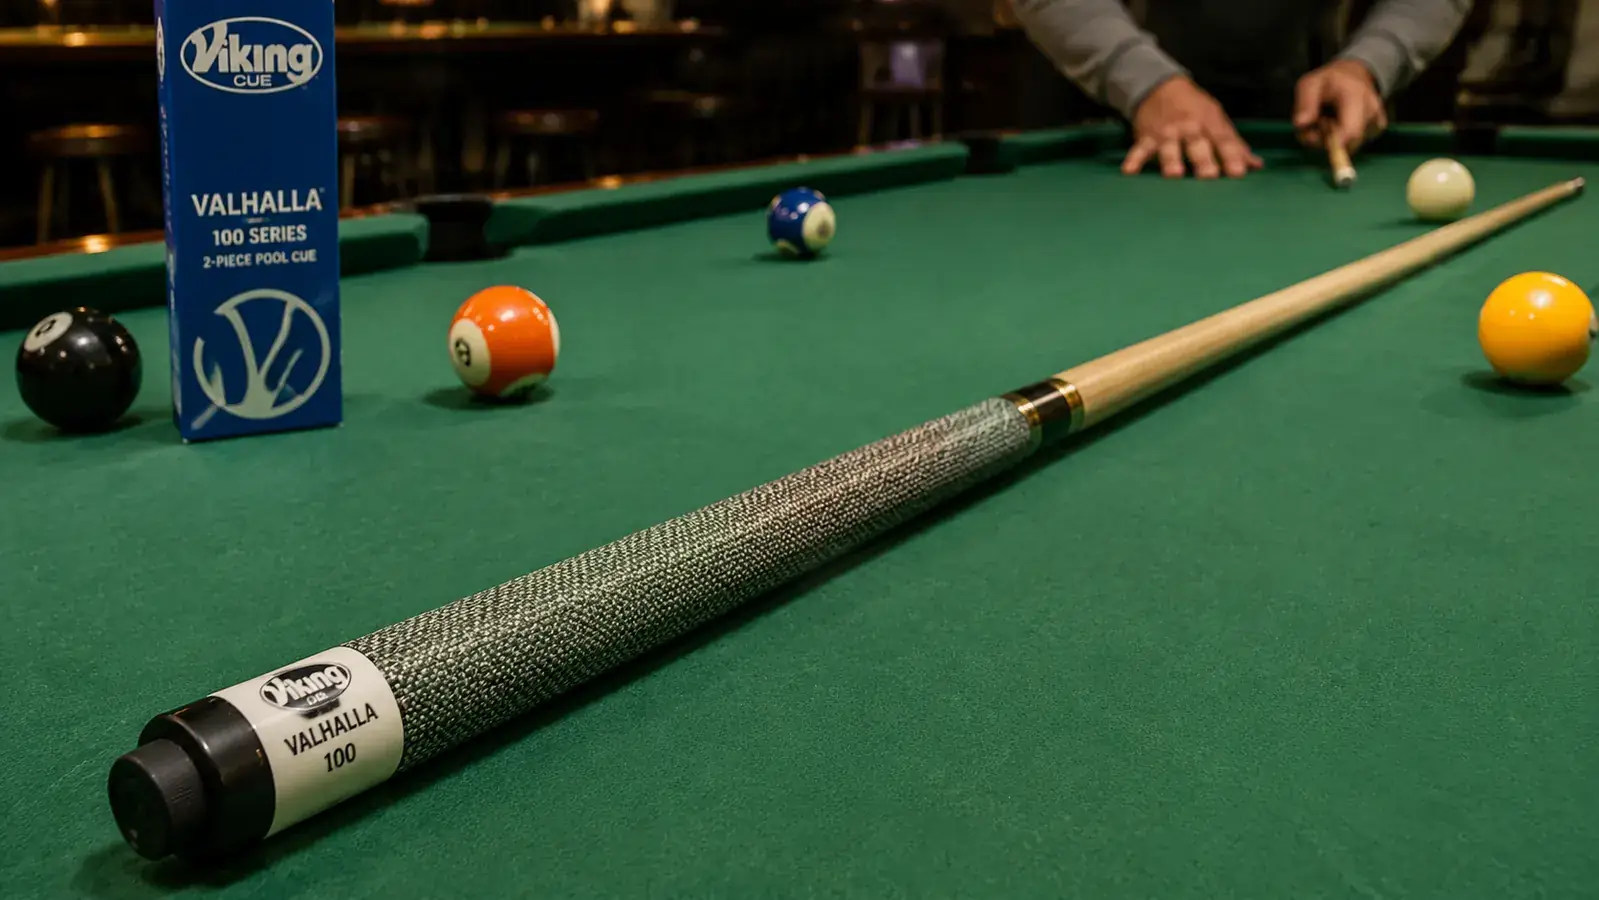
If your cue fails the tests below, the Viking Valhalla 100 is the upgrade I'd go to first at this price.
The Valhalla 100 Series from Viking hits the sweet spot between entry-level feel and genuine performance improvement. Irish linen wrap, solid maple shaft, 13mm tip, and a joint that stays tight after a season of weekly play. Rated 4.6 stars across nearly 1,000 reviews.
Amazon Check Today's Price on Amazon →Step 1: Run the Roll Test for Shaft Warp
Find a flat surface, ideally the pool table itself when no one is playing. Unscrew your cue at the joint, lay the shaft on the felt, and give it a slow roll from one end to the other. Watch the gap between the shaft and the felt as it rolls. A straight shaft stays flush the entire length. A warped shaft will rock, creating a visible gap that moves as the cue rotates.
Even a 2mm warp at the midpoint of the shaft is enough to push your tip off-center at contact. You will not see it. You will not feel it on most shots. But on precise cut shots and long-rail position plays, it introduces a random error element that no amount of practice can eliminate. If the shaft rocks during the roll test, that cue is compromised. No tip replacement or ferrule adjustment will fix the underlying wood.
Heat and humidity cause most warp. Leaving your cue in a hot car for a summer, storing it leaning against a wall, or keeping it near a heating vent all accelerate the problem. A cue you bought straight can warp in six months under bad storage conditions. If yours rolls clean, move to the next test.
Step 2: Assess Your Tip for Wear and Hardness
Hold the shaft at eye level and look straight down at the tip. A healthy tip should be domed, not flat. It should have a convex curve similar to the shape of a nickel held on its edge. If the tip has flattened out, you are getting more cue ball surface contact than you want, which reduces your ability to apply controlled English and increases miscue risk on off-center hits.
Look at the edges next. If the leather is mushrooming out past the ferrule diameter, the tip has compressed beyond useful life. Mushroomed tips are the most common cause of miscues that players blame on bad chalk application. You can replace a tip without buying a new cue, and it is worth doing before you upgrade. However, if your budget cue came with a hard phenolic or plastic tip from the factory, no replacement will fix the underlying feel problem. Those tips are there to cut manufacturing cost, not improve your game.
Press your thumbnail firmly into the center of the tip. A leather tip in good shape will resist the pressure and return to shape immediately. A tip that dents easily and holds the dent has gone soft and is past its useful life. A tip that does not compress at all is either phenolic or extremely hard layered leather, which will hold chalk poorly on side-spin shots.
If the tip dents and holds that dent, you are not miscuing because of bad chalk. You are miscuing because the tip has nothing left to grip the cue ball with.
Step 3: Check the Joint for Play and Rattle
Screw your cue together and grip both halves, one in each hand. Apply a gentle side-to-side wiggle at the joint. There should be zero lateral movement. None. If you feel any give, any looseness, any play at all in the connection, the joint has worn past spec. Even a tenth of a millimeter of slop at the joint translates to inconsistent shaft behavior at the tip.
Now hold the cue at arm's length and tap the butt end gently against your palm while the shaft is free. Listen. A tight joint makes a solid, dead thud. A loose or worn joint rattles. Metal-to-metal joints show this faster than wood-to-wood joints. Once a threaded joint wears past its tolerance, no amount of tightening keeps it locked. Some players put tape on the threads as a temporary fix. That is a patch, not a solution, and it changes the feel of the joint collar.
A rattling joint is often the hidden culprit behind inconsistent cue ball speed. You are generating the same stroke, but the energy transfer at impact varies shot to shot because the joint is absorbing some of it unpredictably. If your cue has a loose joint, you need a new cue or at minimum a new shaft, assuming the butt is still in good shape.
Step 4: Evaluate the Weight and Balance Point
Most entry-level cues come in a single weight or a very narrow range, usually 19 or 20 ounces with no adjustment option. If you have been playing for more than a year and you have never thought seriously about weight, it is worth doing now. Balance the cue horizontally on one finger and find the natural balance point. On most two-piece cues it will be slightly butt-heavy, which is fine. But if the balance point is several inches into the butt, the cue will feel sluggish on the forward stroke and harder to accelerate smoothly.
Weight preference is personal, but the range most league players find comfortable runs from 18.5 to 21 ounces. Heavier cues generate more power on the break but can cause fatigue during a long session and slow down your stroke rate on position play. Lighter cues are quicker to accelerate but can feel jumpy. If your current cue has a fixed weight that sits outside your preferred range and you cannot adjust it with a weight bolt, that alone can justify an upgrade.

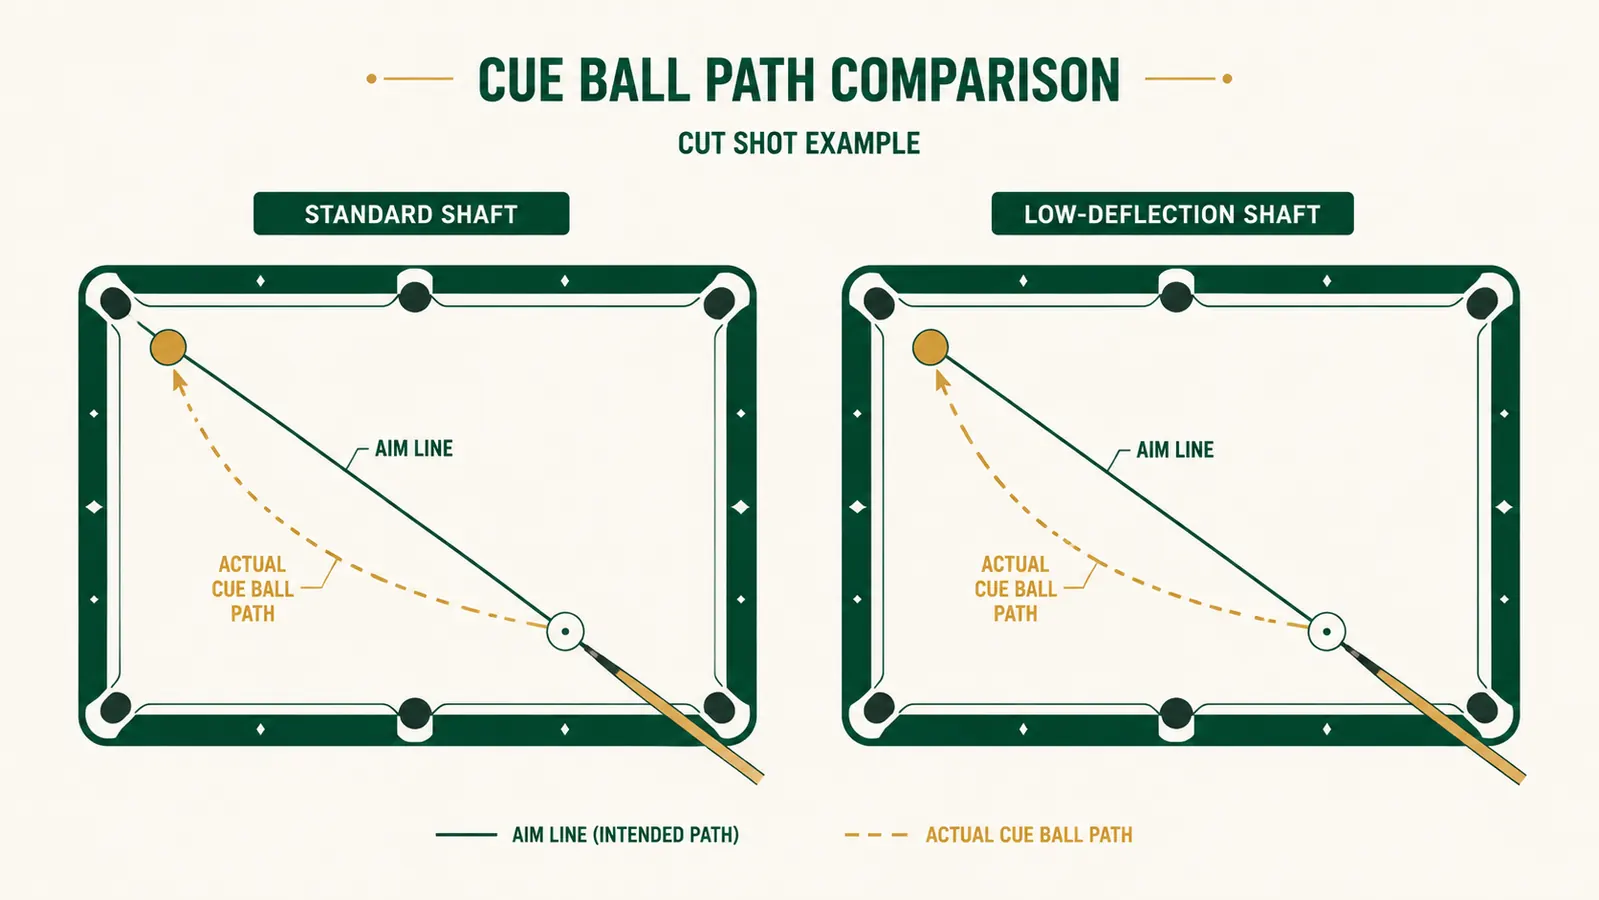
Step 5: Measure Your Actual Deflection on Spin Shots
Set up a cut shot from the center of the table. Pick a target pocket and commit to applying a consistent amount of left or right English on the cue ball. Shoot the same shot ten times with your cue, then switch to a house cue or a friend's cue and shoot the same shot ten times. Note how far off your aim point you have to adjust to compensate for deflection.
Standard maple shafts produce more cue ball deflection on off-axis hits than low-deflection carbon fiber or phenolic-insert shafts. That is not inherently bad. It is something you compensate for automatically after enough repetitions. The problem comes when your shaft's deflection is unpredictable, which happens when the shaft has internal stress from warp or when the ferrule is cracked and not transferring energy cleanly. If your aim point compensation is inconsistent across the ten-shot test, the shaft is the variable, not your stroke. A new cue with a fresh maple shaft restores predictable, learnable deflection behavior.
Step 6: Match the Cue to Your Current League Level
This is the test most players skip, and it is arguably the most important. What skill level did you buy your current cue for? If you picked up a $40 kit cue when you were a beginner APA 3 or 4 and you are now running a 6 or 7 and playing in tournaments, you have grown past the cue's design envelope. Entry-level cues are built to tolerances that suit casual play. The tip compound is chosen for durability, not feel. The shaft taper is a standard profile, not optimized for anything. The joint is pressed hardware, not machined.
There is a real ceiling on the feedback a budget cue gives you. At higher skill levels, you are trying to read subtle feedback from the cue ball on every shot: the hit felt clean, the tip rolled through cleanly, the cue ball came back with the right amount of draw. A low-end cue muffles that feedback. It all feels roughly the same. Moving to a mid-range cue with a proper leather tip, a solid maple shaft, and a machined joint opens up that feedback channel. You start feeling shots more accurately, which accelerates your read on what went wrong when a shot misses.
If you are playing at APA 5 or above, or the BCA equivalent, and you are still on a kit cue or anything under $70, the cue is limiting your development. Not your ability, but your ability to read and improve your execution shot by shot.
What to Look For in an Upgrade
Once you have confirmed your cue is the limiting factor, the upgrade decision comes down to four specs: tip compound and diameter, shaft taper and material, joint construction, and weight adjustability. For most league players moving off an entry-level cue, the target range is $80 to $200. Below that you are still in the same quality tier. Above $200 you are paying for aesthetics and brand margin more than function, at least until you reach the $300 to $400 level where carbon fiber shafts become a real option.
The Viking Valhalla 100 Series sits squarely in the functional sweet spot for this upgrade. It comes with a 13mm tip, which gives you a slightly more precise contact point than the 12.5mm tips on some premium cues without going so narrow that it punishes players who are still refining their bridge. The shaft is rock maple with a standard pro taper, which means deflection behavior is predictable and familiar. The Irish linen wrap provides grip without the dead feel of rubber, and it holds up through a full summer season of sweaty league nights without getting slick. The joint stays tight across extended play. I have owned mine for over a year and it has not loosened. That matters more than most buyers think before they have experienced a worn joint firsthand.
Viking also backs this line with a lifetime warranty on manufacturer defects. That is not a marketing promise with no teeth. I have seen Viking honor it on a shaft that developed a seam crack within the first season. They replace, they do not argue. For a cue in this price range, that warranty changes the risk calculation significantly.
The Viking Valhalla 100 is the upgrade that makes these tests irrelevant for the next several years.
Solid maple shaft, 13mm leather tip, Irish linen wrap, machined joint, and Viking's lifetime warranty. At 4.6 stars from close to 1,000 buyers, it is the most consistently reviewed cue in this price range. If your current cue failed two or more of the tests above, this is where I would start.
Amazon Check Today's Price on Amazon →What Else Helps
Even the best cue in the world does nothing if your chalk technique is undermining tip adhesion. Apply chalk before every shot using a light, sweeping brush stroke, not a grinding circular motion. Grinding digs craters into the cube and creates chalk dust that falls off at contact instead of staying on the tip. Predator chalk is softer than most mass-market cubes and loads more evenly with less application force, which is worth considering once you have the cue situation sorted. A fresh cue with premium chalk and correct application cuts miscue risk to near zero on any shot within a normal off-center range.
Shaft maintenance is the other overlooked variable. Wipe your shaft down with a clean cloth after every session. Skin oils and chalk dust build up on maple and raise the grain over time, creating drag during your stroke. A slightly tacky shaft telegraphs resistance into your delivery and throws off your timing on long shots. A clean shaft should feel frictionless through your bridge. If yours does not, try a very light pass with a fine shaft-conditioning cloth before assuming you need a new cue. Sometimes the problem is cheaper to fix than you think. More often than not though, once you have run all six tests above and come up short on two or more, the answer really is the cue.